How to Edit an Image with AI In-painter
The AI In-painter is a powerful tool that allows you to selectively edit parts of an image using AI. By creating masks and providing text prompts, you can replace or modify specific areas while maintaining the overall composition and context of the image.
Getting Started
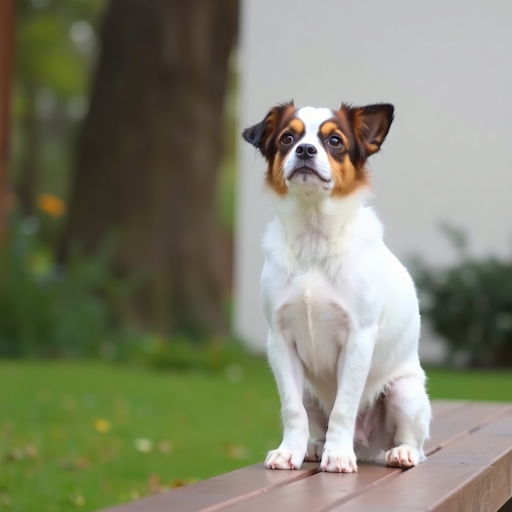
Upload Your Image
- Click the "File Upload" button in the top toolbar
- Select an image from your device (for this guide, we'll use an example of a dog sitting on a bench)
- Wait for the image to load in the editor canvas
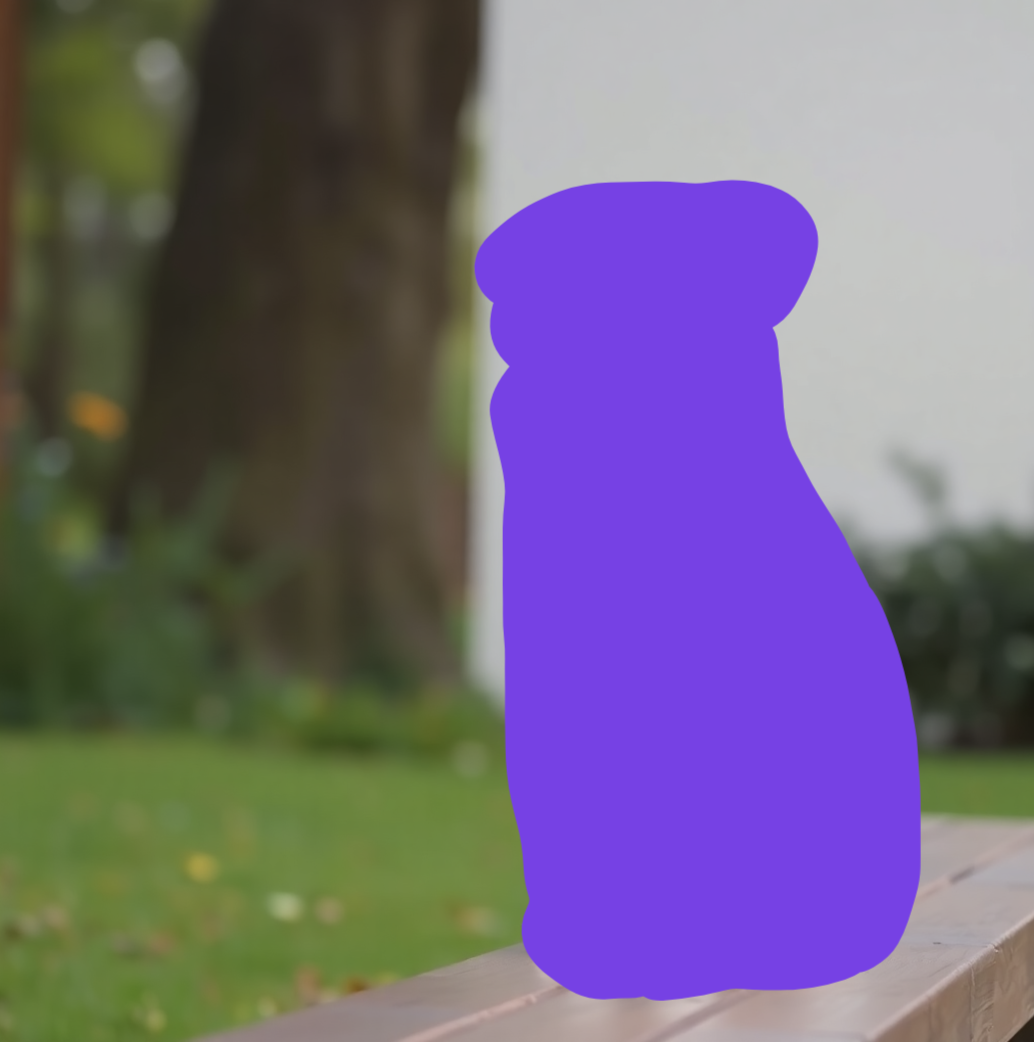
Creating a Mask
- Select the brush tool from the toolbar on the bottom left
- Adjust the brush size if needed
- Paint over the area you want to edit (in our example, paint over the dog)
- Use the eraser tool to refine the mask if necessary
- The masked area will be highlighted with an overlay
Entering a Prompt
- Look for the prompt input field on the right side of the screen
- Enter a descriptive prompt for what you want in the masked area
- Example prompt: "an orange cat sitting on a bench"
- Press Enter or click the "Run" button
- Wait for the AI to process your request and generate the edited image

Additional Tools and Features
In-paint Non-masked Area Toggle
- The "In-paint Non-masked Area" toggle button is located in the bottom left toolbar
- When activated, the AI will edit everything except the masked area
- Useful for editing backgrounds while preserving the main subject
- Example use case: Change the environment around a portrait while keeping the person unchanged
Replace Original Button
- The "Replace Original" button allows you to use the edited version as your new base image
- It enables continuous editing and refinement and is particularly useful for making multiple edits to different parts of the image
- Each replacement becomes the new starting point for further edits
Navigation and Export Tools
- Zoom Controls
- Use the "Zoom In" and "Zoom Out" buttons to adjust view
- Click "Zoom Reset" button to reset the view
- Download Options
- Click the "Download" button to save your edited image in PNG format
- Original image dimensions are preserved
Tips for Best Results
-
Be Patient
- In-painting can take several seconds to complete
- Processing time may vary based on image size and complexity
-
Experiment with Prompts
- Try different variations of your prompt
- Be specific about details you want to maintain
- Include style descriptions if needed (e.g., "photorealistic," "natural lighting")
-
Mask Precision
- Create clean, precise masks for better results
- Use the eraser tool to refine mask edges
- Consider using a smaller brush size for detailed areas
-
Multiple Attempts
- Don't hesitate to try multiple generations
- Each attempt may produce slightly different results
- Save versions you like before making further edits
Notes
- For optimal results, ensure your image is clear and well-lit
- The AI works best with masks that have clear boundaries
- Complex edits may require multiple steps or attempts
- Consider breaking down complex edits into smaller, manageable changes
- Keep original image backed up before starting major edits