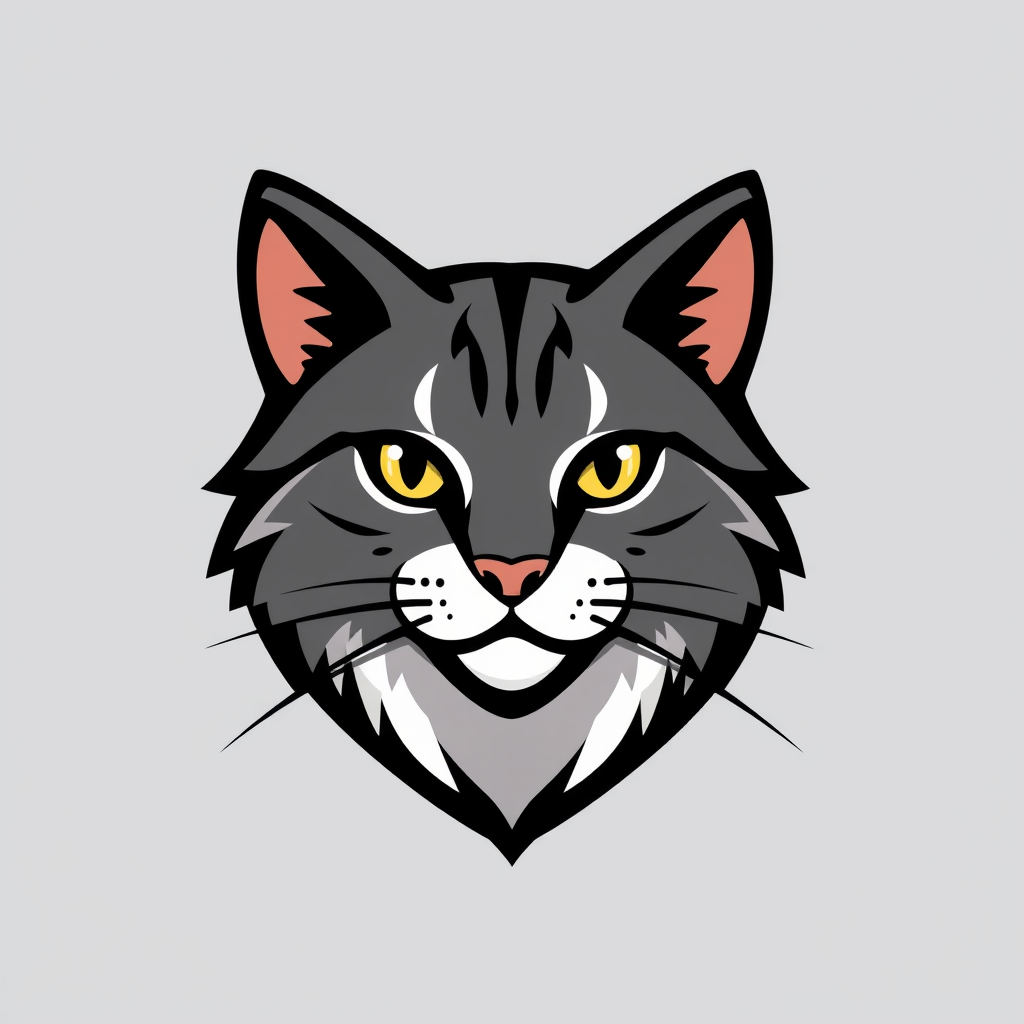
How to Vectorize a Bitmap Image with AI Vectorizer
The AI Vectorizer converts bitmap images (JPEG, PNG) into scalable vector graphics (SVG). While bitmap images are made up of pixels and lose quality when scaled, vector images use mathematical paths and can be scaled to any size without losing quality. This makes vector images ideal for logos, icons, and other graphics that need to be displayed at various sizes.
Getting Started
Upload Your Image
- Click the "File Upload" button in the top toolbar
- Select a bitmap image from your device (for this guide, we'll use an example logo of a cat)
- Wait for the image to load in the editor canvas

Vectorizer Settings
The AI Vectorizer provides several settings to optimize the vectorization process:
Color Mode
- Black and White: Converts image to monochrome vectors
- Ideal for logos, line art, and simple graphics
- Results in smaller file sizes
- Color (Default): Preserves original colors
- Best for colorful artwork and complex designs
- Produces larger file sizes
Layering Mode
- Stacked (Default): Creates overlapping layers
- Better for smooth color transitions
- More natural-looking results
- Cutout: Creates non-overlapping shapes
- Cleaner, more geometric results
- Easier to edit individual elements
Advanced Settings
Filter Speckle
- Determines minimum size (in pixels) of preserved details
- Higher values remove small artifacts but may lose fine details
Color Precision (Color Mode Only)
- Controls number of bits per RGB channel
- Lower values simplify colors but may lose subtle variations
Gradient Step (Color Mode Only)
- Controls color difference between gradient layers
- Higher values create more coarse details
Navigation and Export Tools
- Zoom Controls
- Use the "Zoom In" and "Zoom Out" buttons to adjust view
- Click "Zoom Reset" button to reset the view
- Download Options
- Click the "Download" button to save your vectorized image as SVG
- SVG file can be opened and edited in vector graphics software
Tips for Best Results
Optimizing Path Smoothness
- Start with default settings
- Adjust for smoother paths:
- Reduce color precision gradually
- Increase gradient steps
- Increase filter speckle value
- Find the balance between smoothness and detail preservation
Multi-Pass Vectorization
- First pass:
- Use larger filter speckle values
- Focus on main shapes and elements
- Second pass:
- Use smaller filter speckle values
- Capture fine details
- Combine results in vector editing software:
- Import both SVGs into Inkscape or Adobe Illustrator
- Layer and combine as needed
- Clean up any artifacts
Input Image Optimization
- Use high-contrast images
- Clean up noise and artifacts beforehand
- Ensure sharp edges for logos and text
- Remove unnecessary background elements
Limitations and Considerations
Image Type Limitations
- AI-generated images may need refinement:
- Consider generating alternatives with cleaner lines
- Use simpler prompts for better vectorization
- Avoid complex images with:
- Gradient meshes
- Photographic details
- Subtle color variations
- Noise or grain
- Complex textures
Best Use Cases
- Logos and icons
- Line art and illustrations
- Simple graphics
- Typography and text
- Geometric patterns
- Clean, high-contrast artwork
Not Recommended For
- Photographs
- Complex gradients
- Detailed textures
- Noisy images
- Low-contrast artwork